Predefined layouts
Eight ready-to-use layouts: Full Screen, Vertical Half, Horizontal Half, 2×2 Grid, 3×2 Grid, 4 Columns, Left Main, and Right Main.
Layouts and tools

Ready-to-use grid dashboards, a full visual layout editor, and per-monitor control. Build and save the exact screen structure your work demands.
Start from a built-in layout or build a personalized dashboard from scratch. Layouts are saved per display.
Eight ready-to-use layouts: Full Screen, Vertical Half, Horizontal Half, 2×2 Grid, 3×2 Grid, 4 Columns, Left Main, and Right Main.
Create, rename, and delete custom layouts that are stored on your Mac and tied to each specific display.
Assign a different layout to each connected monitor. SnapGrid Window Manager tracks displays independently so each screen has its own saved state.
Build advanced custom layouts using split, resize, and flip actions — then save them under any name.
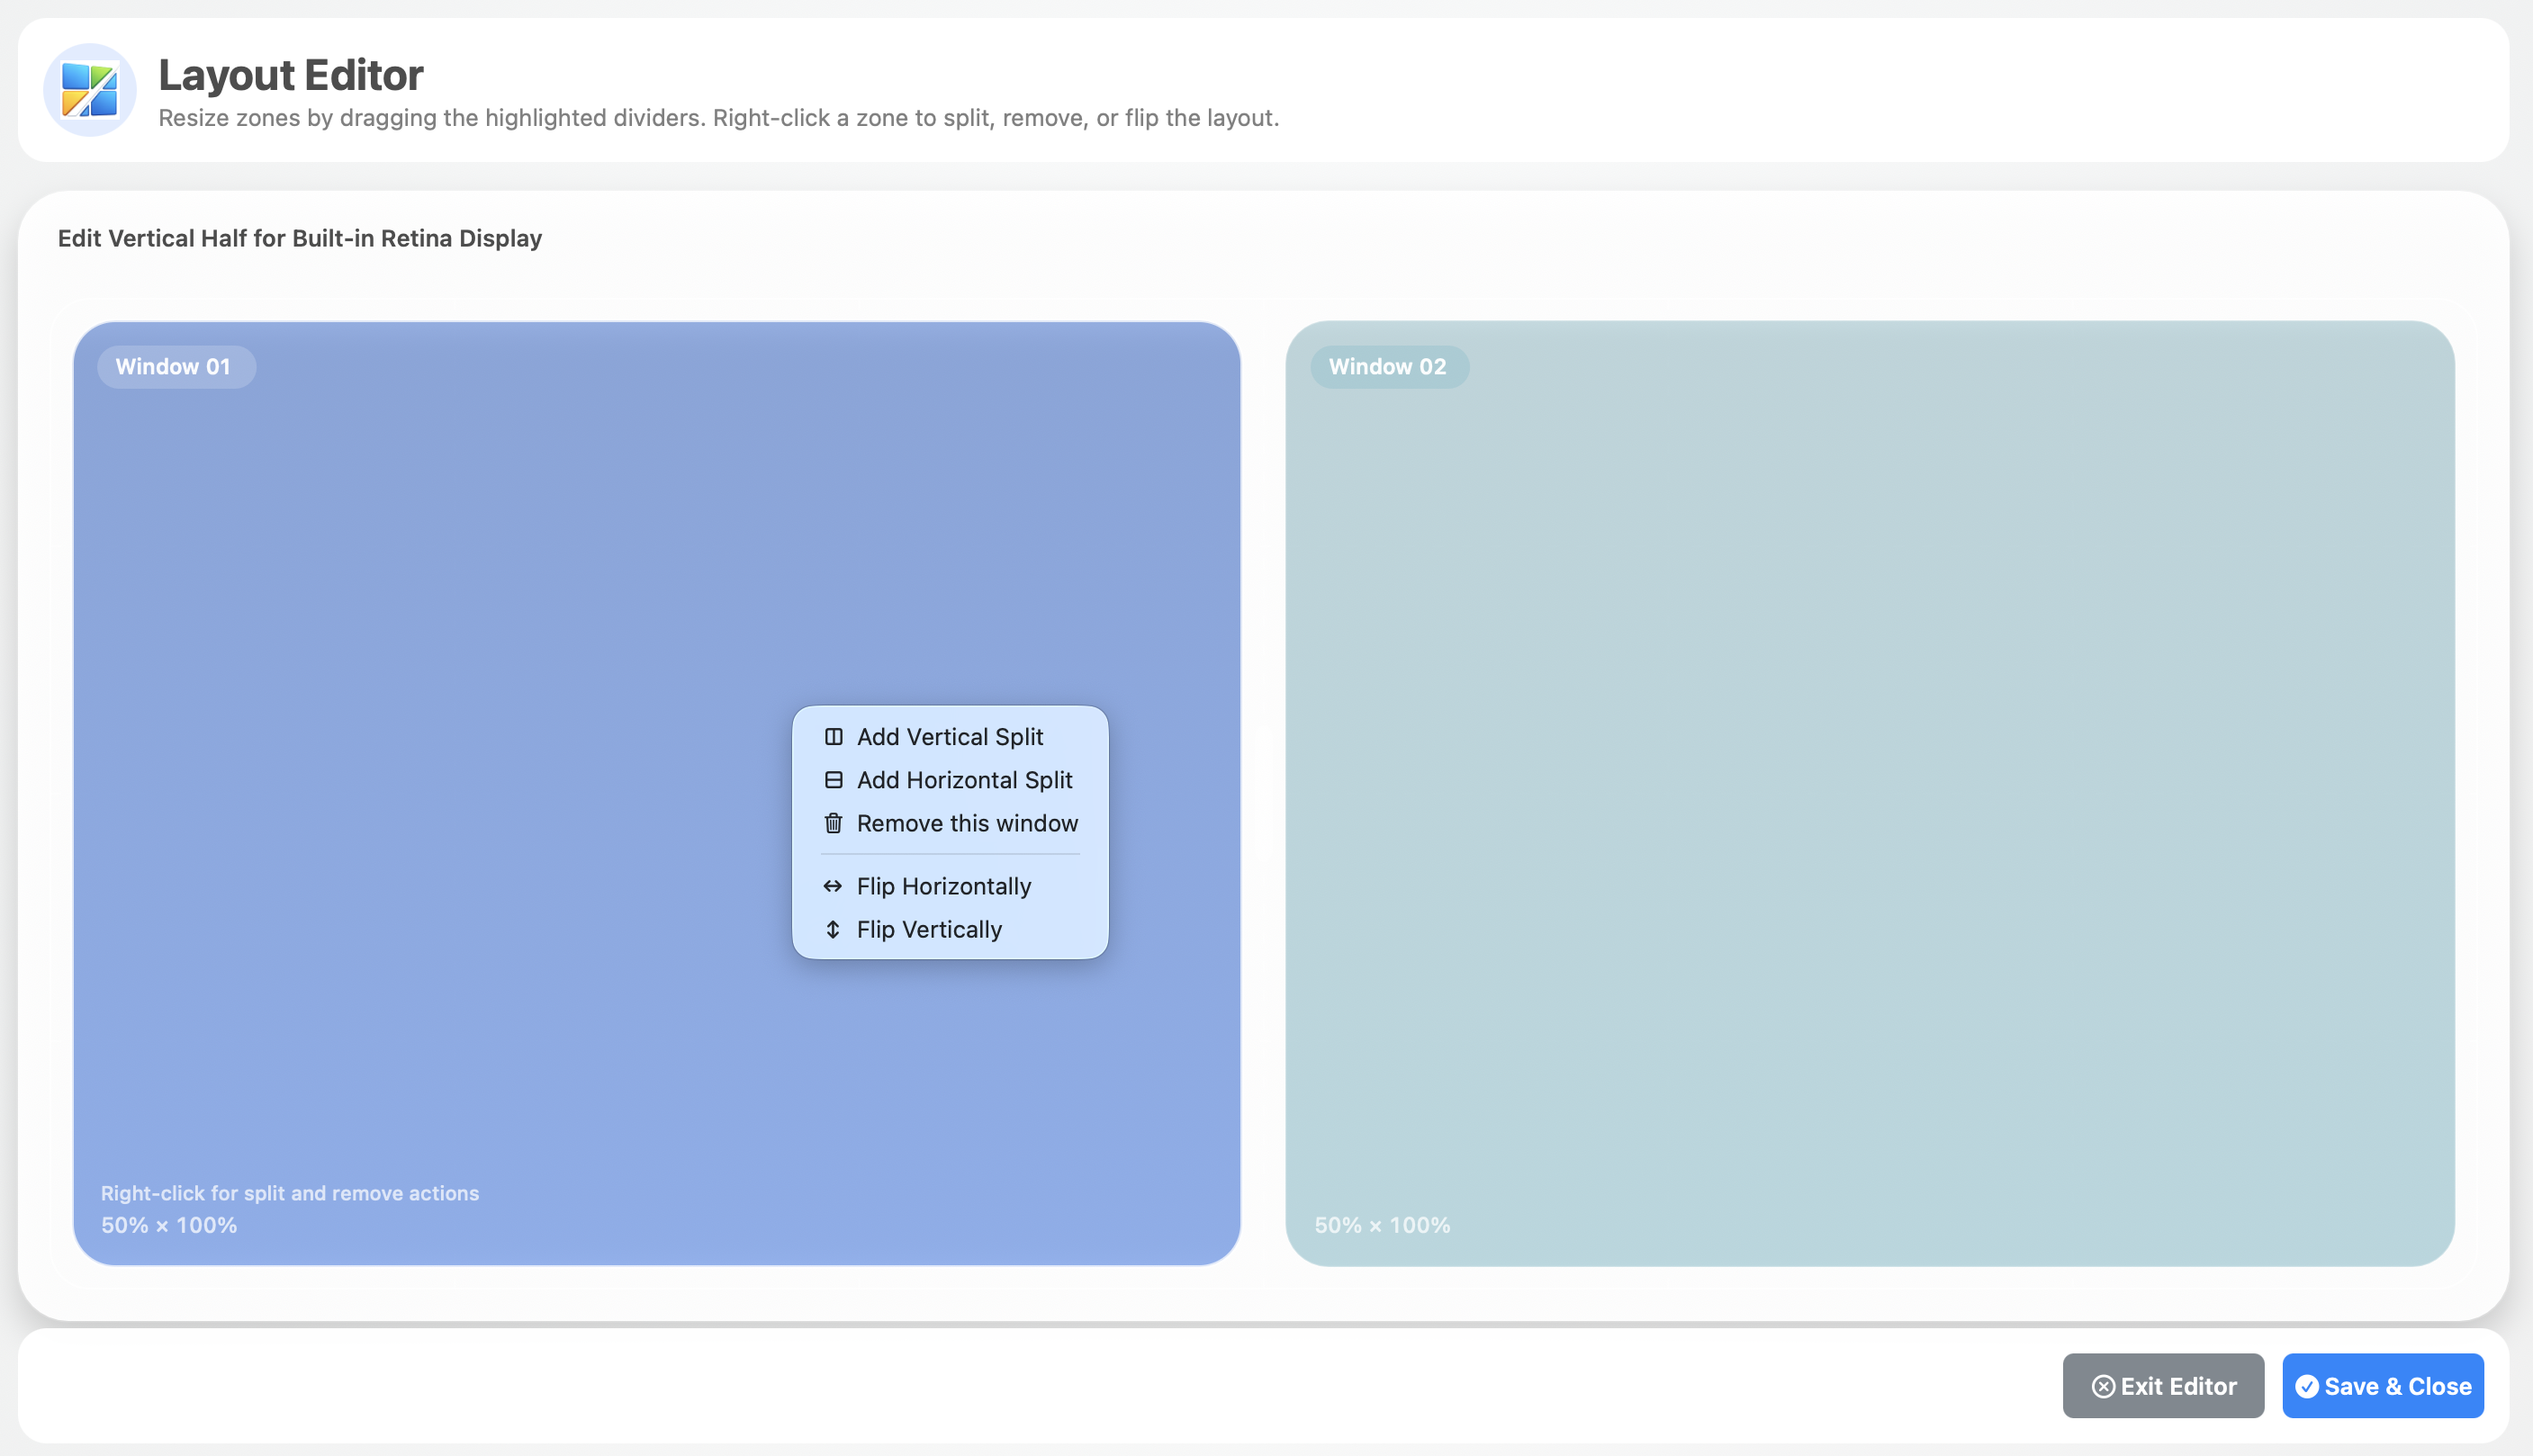
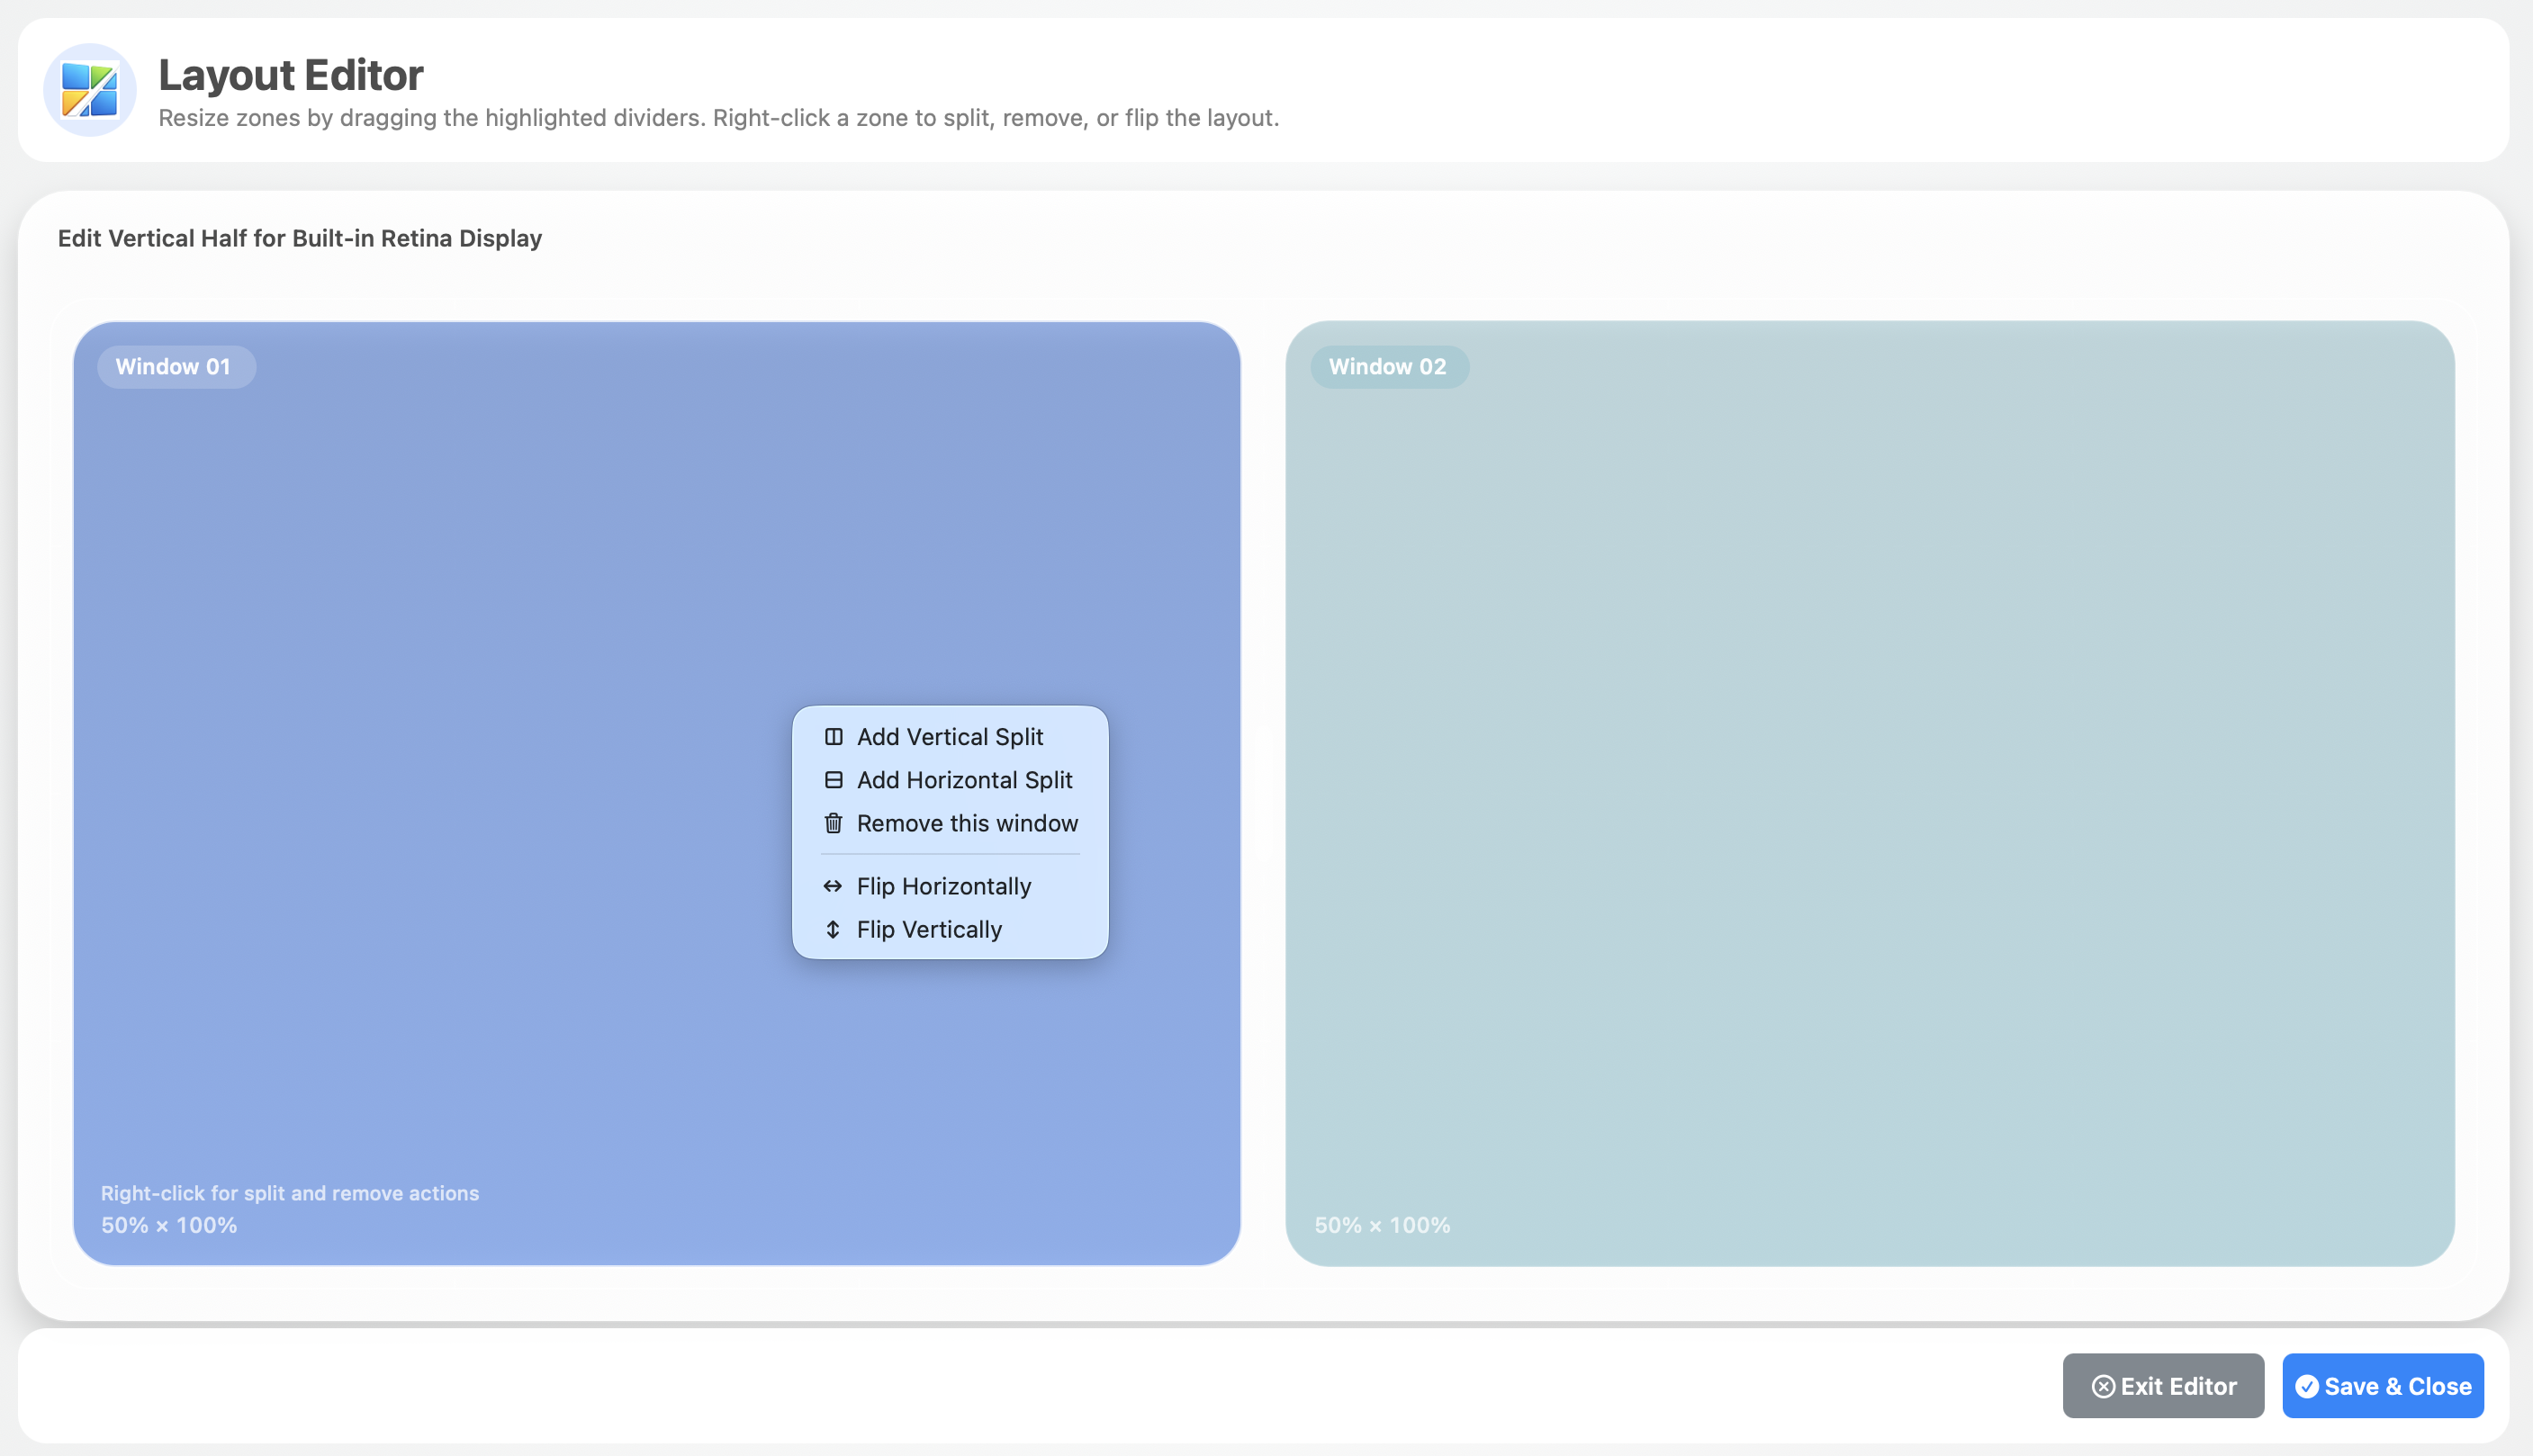
Right-click a zone to add a vertical or horizontal split. Repeat as many times as needed to build complex grid structures.
Flip any layout horizontally or vertically with one click. Useful when switching between primary and secondary monitor positions.
Drag any divider to adjust zone proportions. Combine with the snap scale setting to control margins and window fill behavior.
Build a fully custom layout in four steps.
Click the SnapGrid Window Manager menu bar icon and choose Editor to open the visual layout builder.
Right-click any zone and choose Add Vertical Split or Add Horizontal Split to divide the screen into sections.
Drag the dividers between zones to set the relative size of each area. Aim for the proportions that match your workflow.
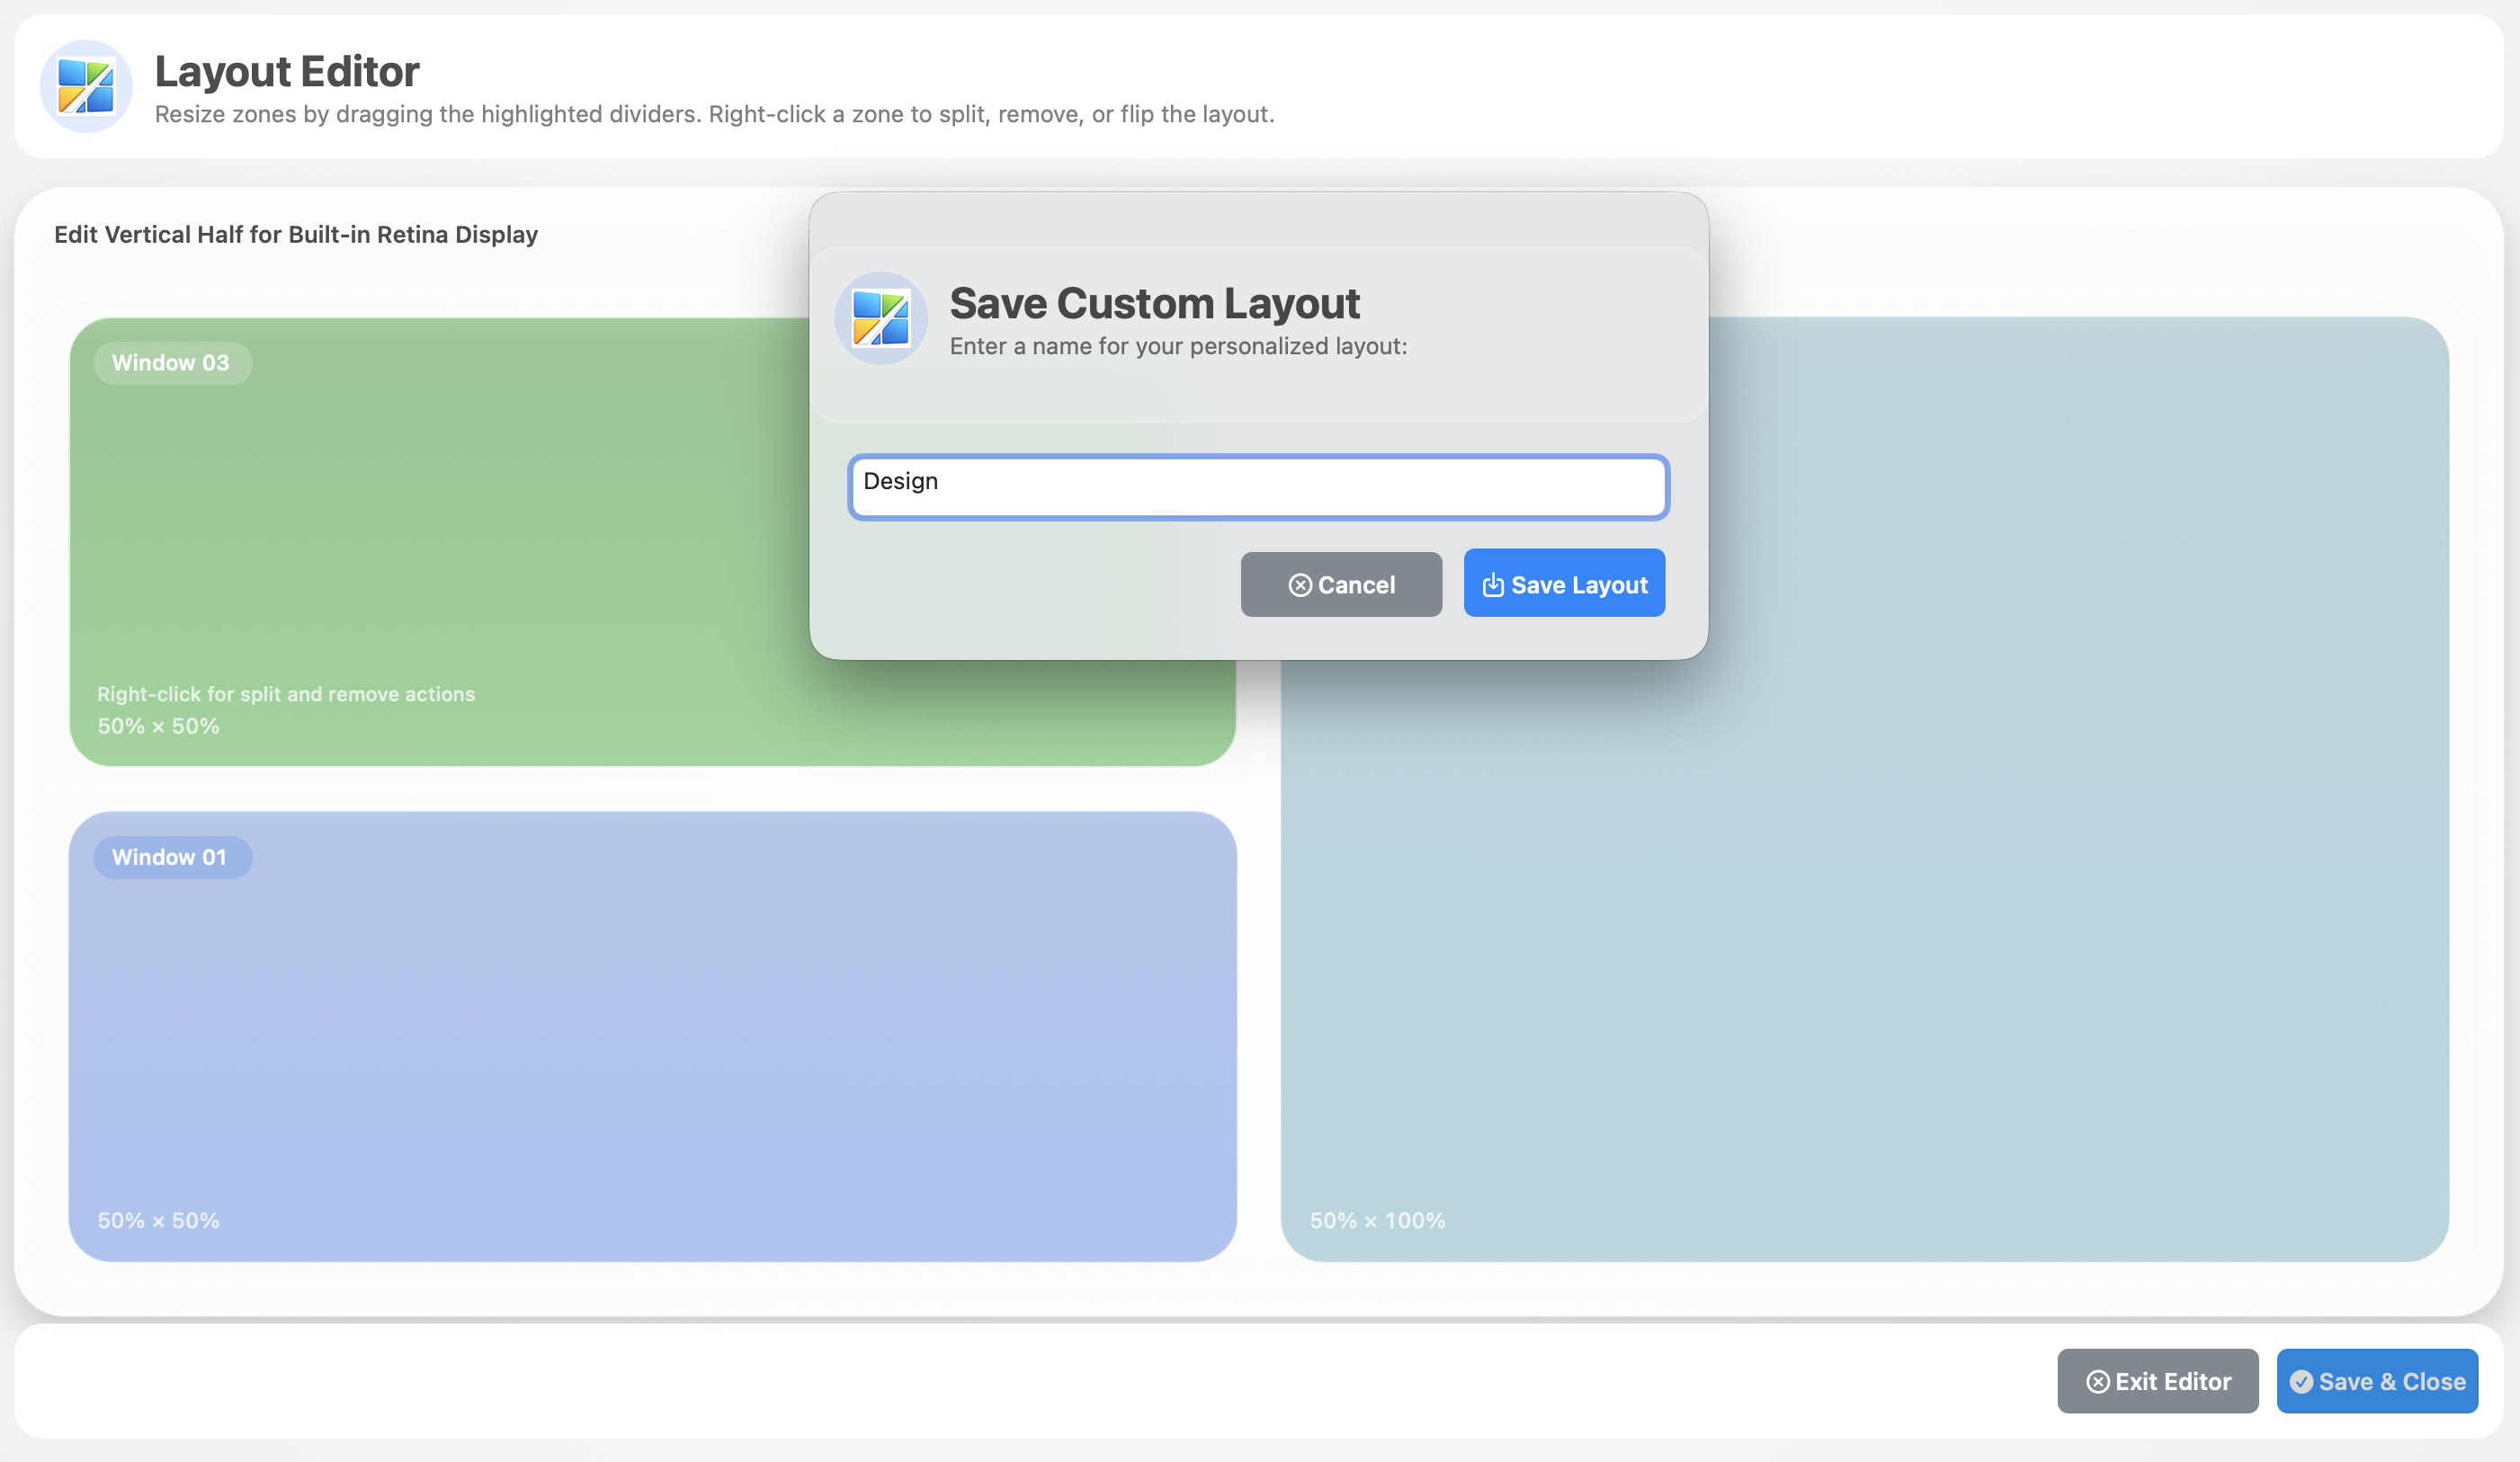
Click Save Layout, enter a name, and the layout appears under Personalized Layouts in the menu and can be set on any display.
Once a layout is active, snapping is automatic and precise.
Windows are resized to fill their zone exactly, accounting for the snap scale setting you configure in preferences.
SnapGrid Window Manager places windows pixel-perfectly within each zone so adjacent windows line up without visible gaps or overlaps.
Snapping works with all standard macOS applications. No per-app configuration needed.
Download SnapGrid Window Manager free and start from the built-in grid layouts. Build your first custom layout in under five minutes.
The visual Layout Editor is where you build custom dashboards. Open it from the SnapGrid Window Manager menu bar icon, split and resize zones interactively, then save the result under a name you choose.
Saved layouts are stored locally on your Mac and appear immediately under Personalized Layouts in the menu. You can have separate saved layouts for a laptop screen, an external monitor, and an ultrawide — SnapGrid Window Manager keeps them distinct.
The Snap area scale setting in Preferences controls how much of a zone each snapped window occupies. At 100% a window fills the zone completely. At a lower value, SnapGrid Window Manager leaves equal margins around the window inside the zone — useful if you prefer breathing room between windows rather than edge-to-edge tiling.
The Always fill split area toggle overrides the scale so windows always stretch to fill the entire zone regardless of scale.